 Amanda Kaay
Using Segmentation to Improve Sponsorships & Activations
What do you think of when you hear the phrase “diverse sponsorships?”
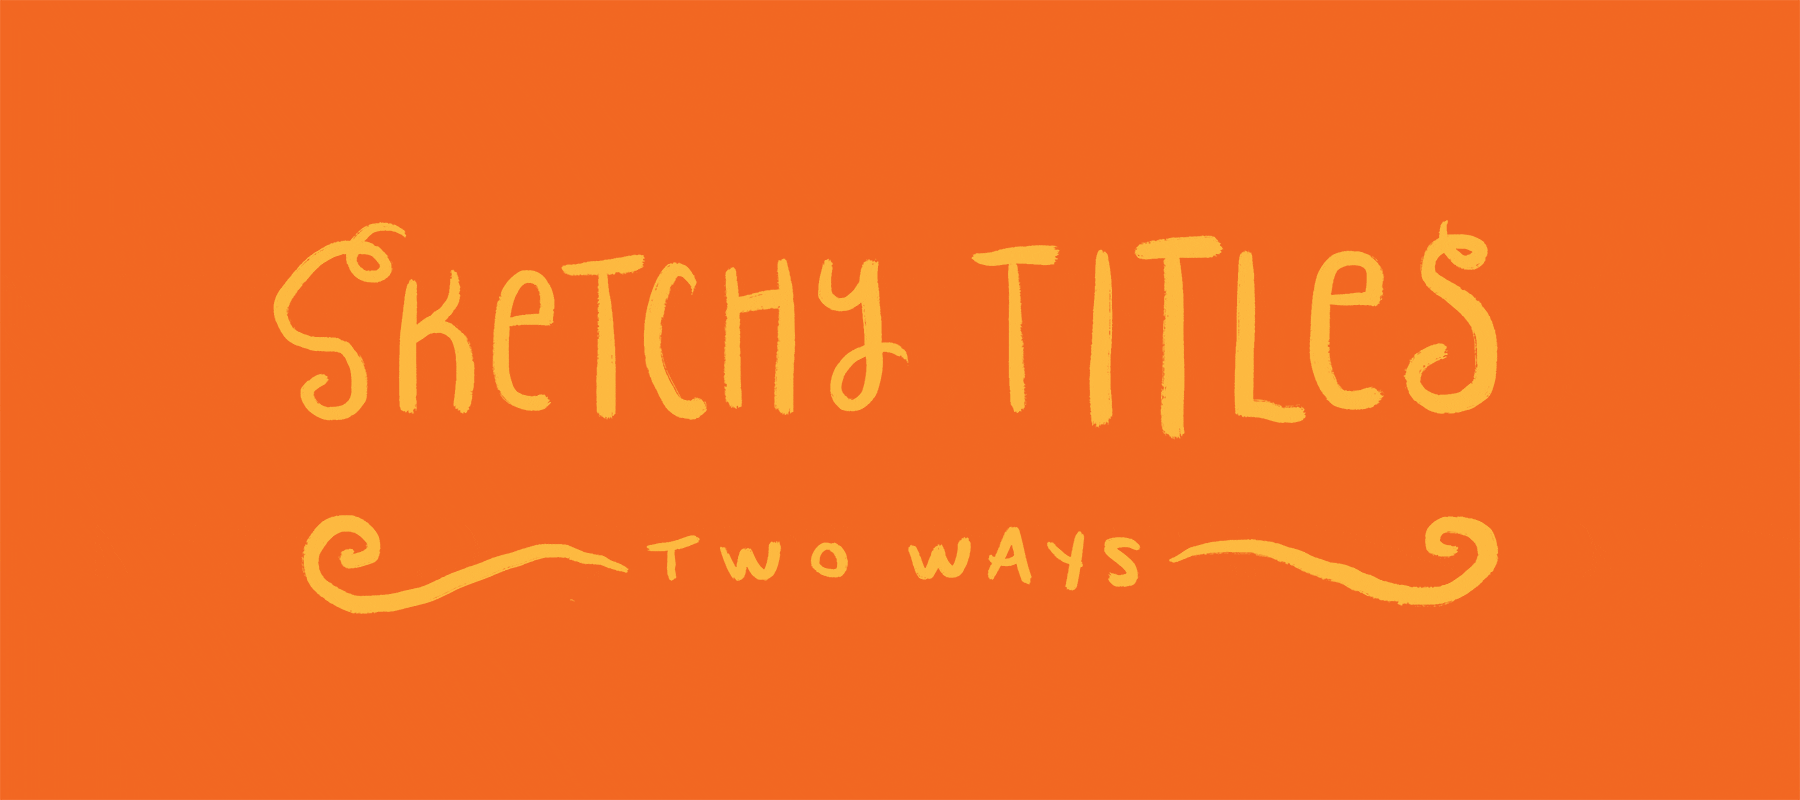
I’ve noticed a trend in movies and TV lately where the title sequences use hand-drawn type. But this isn’t your dad’s handwriting font; the words are animated to give it a sketchy look, shifting slightly back and forth. It’s something that has a long history in animation and something you can’t do with just one font. Let’s take a closer look at how this effect is created.

First we’re going to do it the traditional way with paper and pens, then I’ll show you the digital way using Procreate on an iPad with an Apple Pencil.
Traditional hand-drawn animation, whether it’s cartoons or typography, is done with transparent paper, each frame drawn on a fresh sheet of paper. The artist flips back and forth between the layers to get a feel for the motion. It’s not until the next steps, when the drawings are photographed and assembled together, do they get to see a more realistic portrayal of how the motion actually works. An animator will draw many frames and many versions before getting to a final product. It’s an extremely time consuming and labor intensive process, as professional animator Aaron Blaise shows us below.
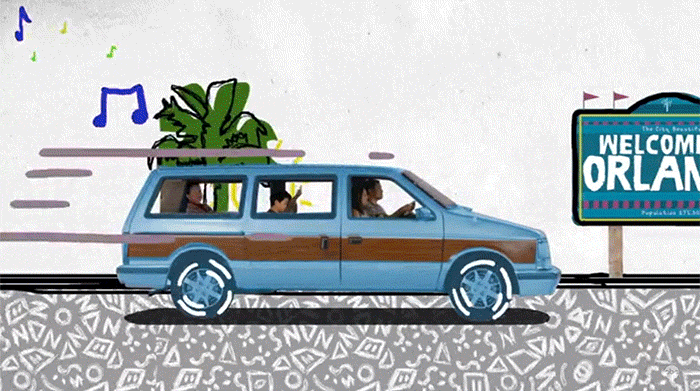
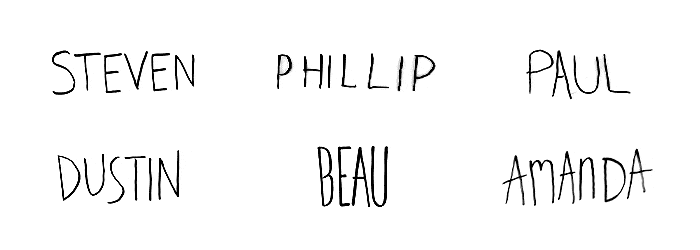
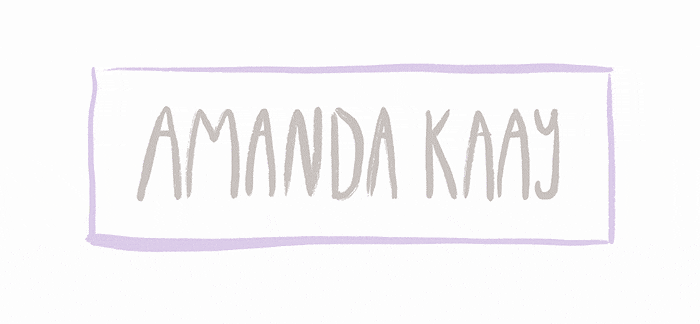
The effect we see in movie and television title sequences today is emulating this hand drawn look of tracing something many times over. I’ve seen tutorials and After Effects motion graphics where they just make the letters wiggle and I’ve been underwhelmed by the result; that’s not quite it. It’s actually a very simple effect to create if you draw your own words. Here, the Boombox team has traced our names 5 times on a transparent vellum paper, which I photographed, edited and set in a loop. This gives a lot of character to the animation because each person's handwriting and variants are different.
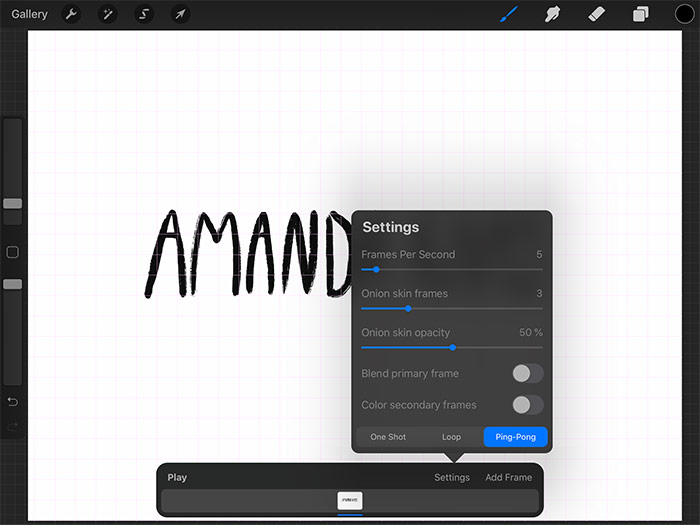
With Procreate 5’s new animation feature we can knock this effect out in just a few minutes. The first new feature you’ll notice if you click on the Action menu, under Canvas is the Animation Assist toggle. Turn this on and Procreate brings up a toolbar at the bottom where you can play through each layer (or group of layers) as a frame by frame animation. Press play for a full size preview of your animation instantly. You couldn’t do this in the last version of Procreate!
Click on Settings and you’ll be able to specify the frame rate you want to play back at. The new, customizable onion skin tool allows you to see the surrounding frames with successive transparency. It’s very similar to the transparency paper in the pen and paper method. You can also loop your animation or set to ping-pong; playing the frames forward and then backward like a boomerang.
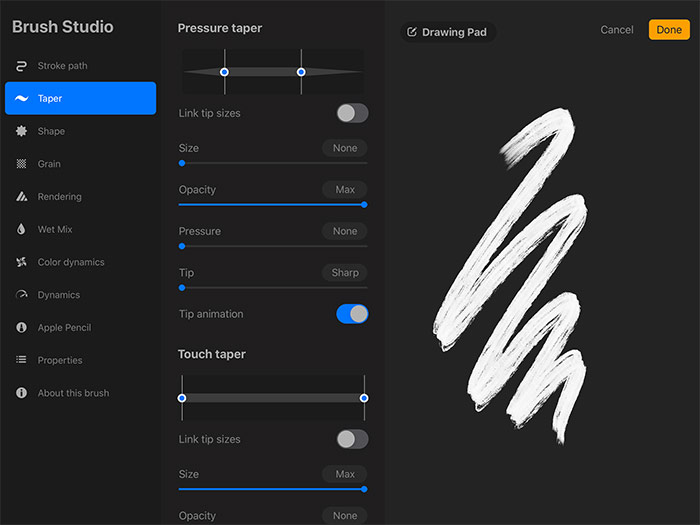
The next most important thing is your brush, and Procreate 5 has some great new built in options. There are some new brushes under Artistic I’m excited about, but for this project I’ll stick to something in the Inking/Drawing category. I used Blackburn. If you’re not happy with a brush, Procreate 5 now offers 10 different screens of options where you can customize to your heart’s content. You’ll want to swipe left on the brush and duplicate it before changing up the properties and creating yourself a whole new brush. There’s also a cool little feature called the Drawing Pad where you can test out your brush as you make changes to it, which doesn’t affect your actual drawing.
From there it’s a matter of writing out your name in whatever handwriting you’d like. After you’ve drawn it once, hit the ‘Add Frame’ button and start tracing your name again. The beauty of this method is you’ll never trace it exactly the same, try as you might, so each frame is slightly different than the last. Turn on the guide layer (under Action/Canvas) and try to stay in the lines, or go wild for a more exuberant hand-drawn animation. Click ‘Add Frame’ and trace your name a total of 4 times, making your animation 5 frames long. Adding flourishes that grow and move is easy with this method, and the instant playback is a huge bonus that Procreate users have been demanding for a while now. When you're ready, Procreate gives you the option of sharing (exporting) the animation as a GIF, animated PNG, or animated MP4, in addition to all the static image options we'd normally use.
What do you think of when you hear the phrase “diverse sponsorships?”
Come June,we can expect to see the usual suspects up in arms about brands engaging in (or even supporting) LGBTQ+ Pride campaigns. Of course, not...
First things first: what is a podcast?